So I had major guilt and shame about not taking pictures of the big Pizza Bake a couple weeks ago. Really, I really did!
So today we're going back to 1:1 and making a batch of dough. What I'd
like to show you is 1 pizza and a batch of pizza pops.
You will need(yes, I'll go over it again)
Large bowl, measuring cup (big 4 cup pyrex, and a 1 cup measure), measuring spoon(s), big spoon, assorted pans.
Flour, yeast, salt, olive oil, water.
In 1 1/2 cups of warm water (not hot, not cool,
warm) stir 1 tbsp dry yeast* and let sit until it starts to get foamy- about 5-10 minutes.
Into large bowl, measure 3 1/cups flour and 1 tsp salt. wait for yeast.
And here's the video!
Turn, Fold, Push, Repeat
Pour yeast mixture all at once into flour (yeah, make one of those "well" thingys in the flour) add 1 tbsp olive oil and start stirring. When it's all mixed into a big mess, sprinkle some flour onto the counter top and turn the whole bit out of the bowl and start kneading. You will have to knead it for
at least 5 minutes until you have a nice smooth ball. If it's getting too sticky, sprinkle some more flour on the counter and keep going.
Coat the dough ball with a bit of olive oil and put it back in the bowl to rise (about an hour ish) to double.
While you're waiting, you can prepare your toppings- grate cheese and stuff, and clean up your counter.
Get bored and eat leftover blueberry pancakes :)
For the pizza pops, stretch dough out into palm sized rounds, add a heaping tablespoon(ish) of mixed sauce, cheese and meat, and pinch closed. Pop into greased muffin tins and bake for about 17 minutes.
Divide dough into half or thirds and stretch/toss/roll the dough onto greased pans.
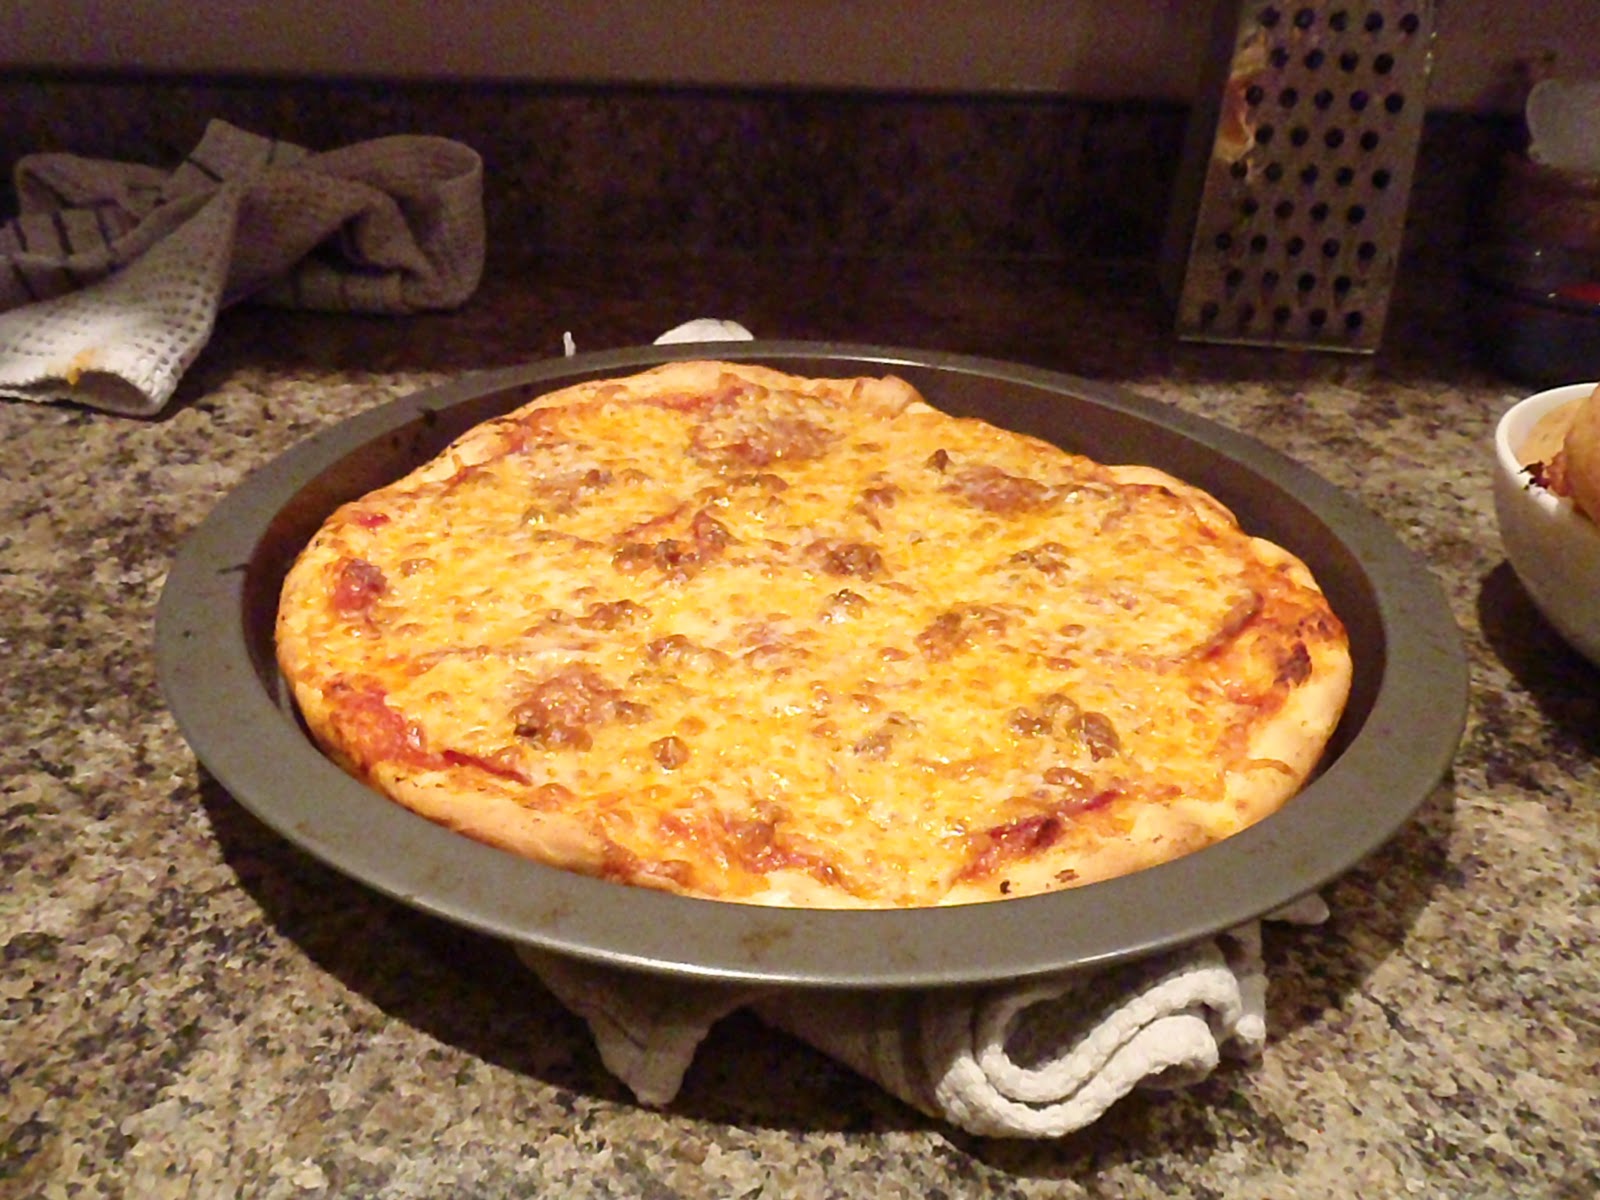
Add the sauce and the toppings (but not the cheese yet) and bake in a 500 degree oven for 15 minutes, THEN add the cheese and bake for about another 10 minutes until the cheese is all melted and bubbleh... mmm bubbleh cheeese.
Remove from oven and RESIST the urge to tear into it for at least 5 minutes, pizza burns SUCK!
Enjoy!
* the yeast thing- Ok so once in awhile, I can't get the yeast to "proof"- put your oven on "warm" and add 1/2 teaspoon of sugar to the water and stir in with the yeast. It will feed the yeast and get things moving. If this happens more than once, it's time for a new jar of yeast!